Deploy ads on social platforms
To publish content to Facebook, you must connect your Facebook account and then select the Facebook Page to which you want to publish the content.
Please note that the Facebook page you select should have a Facebook ad account with a valid payment method.
- Click on the Publish icon located at the top-right corner of the editor and select the Facebook tab.
- Choose a Facebook Page (that has an ad account with a valid payment method) from the drop-down and then click on the Ad tab.
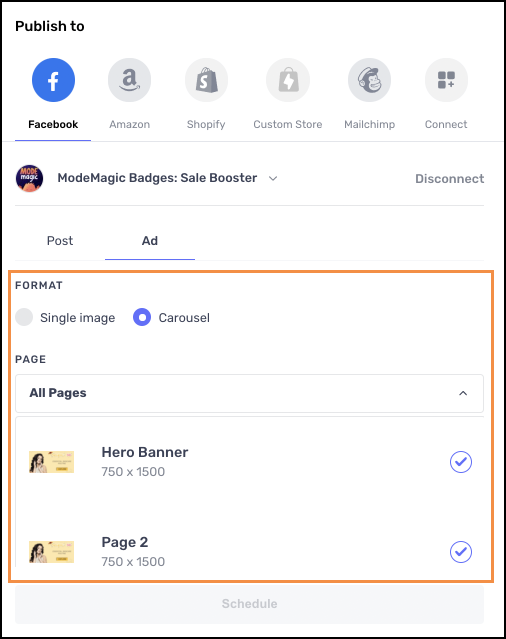
- Choose the Ad format by clicking either the Single Image (OR) Carousel radio button
- Select the project page(s) from the PAGE drop-down. If you select Carousel as an ad format, all the project pages are selected by default in the PAGE drop-down.

- Select an Ad Account and Ad Preset from the AD ACCOUNT and AD PRESET drop-downs respectively.
- Select the Ad Campaign from the CAMPAIGN NAME drop-down and Select Ad Set from the AD SET NAME drop-downs respectively.
- Note that, all the Ad Campaigns in your ad manager account will be shown in the CAMPAIGN NAME drop-down.
- Once you select a particular Ad Campaign, only the Ad Sets under that Campaign will be shown in the AD SET NAME drop-down.

You can also create a new Ad Campaign and Ad Set by entering their names in the text fields provided in the corresponding drop-down. This will create a new Ad Campaign and Ad Set in your Facebook Ad manager and publish the ads to them.
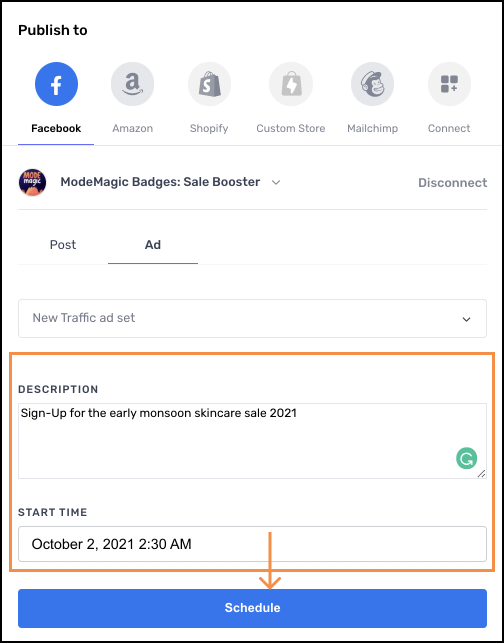
- Choose the Target Platforms (Facebook/Instagram/Both); add a Description to the Ad; set the Start time of the ad.
- Click on the Schedule button.

Your ad has now been scheduled, you would get an email once approved from the Facebook marketing team, after which you can go to your Ads Manager and make it go live!
Updated about 1 month ago
